


 | |
| 1940's oil can made in USA |
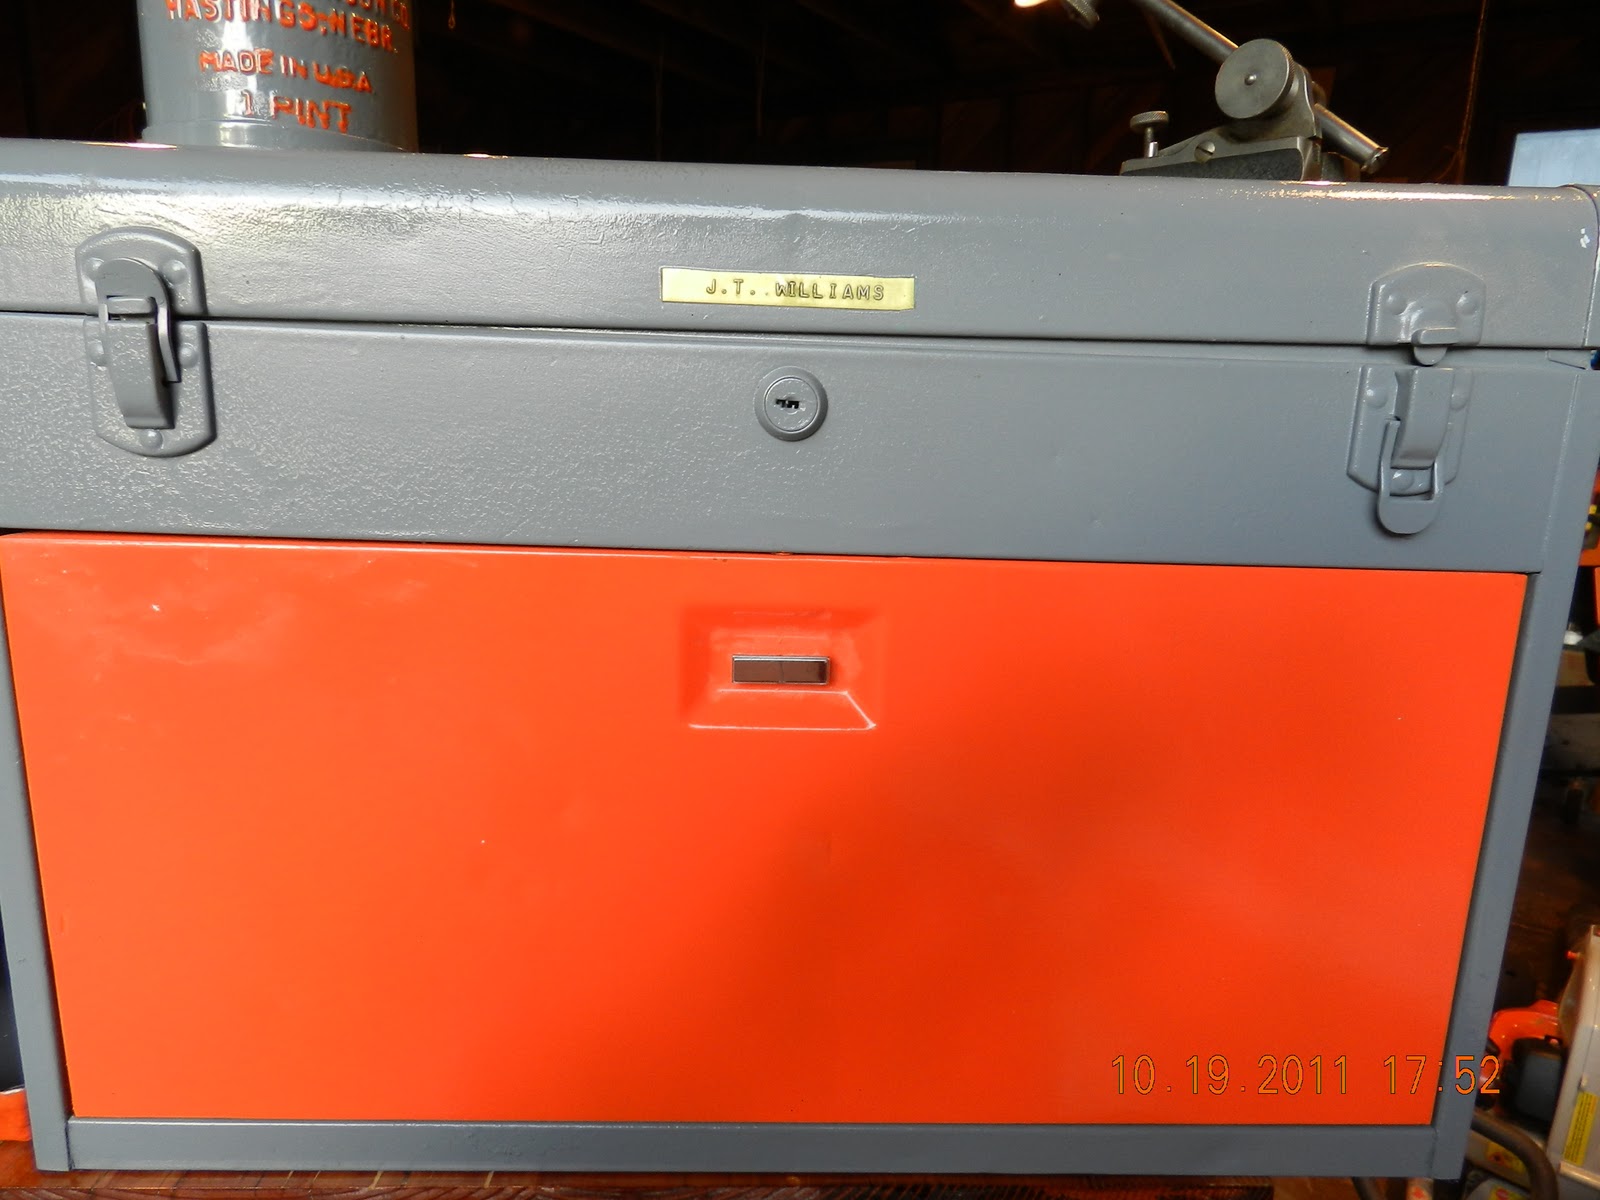 | |
| Dad's name tag still on his tool box |
1953 South Bend, Model A,
machinist lathe: Needless to say, it
has been many years since I have run a metal lathe. So many that it seems like
memories of someone else’s life. Back in 1962, my Dad’s machine shop was doing
a good deal of business, and the lathes in Dad’s shop were much bigger then
this one. Dad bought this lathe years after he closed down the shop.
When Dad’s bypass surgery went bad, it was a shock to everyone.
Dad had planned to be in the hospital only a few days. The shop was a mess, because
Dad had unfinished projects he planned to complete after his surgery. Due to
the poor medical service in San Luis Obispo County, the family spent the next
seven years caring for Dad and dealing with the medical system. Dad’s shop was
pretty much ignored. Tools were either rusting where they sat or disappearing
one at a time. The lathe was cleaned a few times, but it still suffered from
neglect. Every time I looked at that lathe, it brought back so many memories.
Then, I noticed the rust, something Dad would have never allowed on his tools.
When Dad passed away, I asked Mom for the lathe. Not that I needed a lathe, but
I did not want to see it disappear and I did not want to see it neglected
anymore.
I brought the lathe to
Oregon in several pieces. There were several boxes of rusty calipers and
attachments that had not been used in over thirty years. I recognized many of
the tools from back in the sixties when the machine shop was going strong, but
I had never seen them so dirty and rusty as they had become.
I built a table for the
lathe. The top was made from antique 4x12’s from the 1950’s, and the frame from
new 4x4’s. When I finished the top, my wife wanted to use it for a dinning
table. Some people laughed at the fact that so much detail work was put into
the table finish. It may have been foolish to spend that much time on it, but
the work was my expression of how I felt about it, plus I wanted to show my mom
that the very best care was given to Dad’s lathe.
Day by day, week-by-week, and
month-by-month, I took the lathe apart. Each part was cleaned to bare metal,
polished on a buffer and painted. Thanks to the Internet, I located parts list
and diagrams to assemble the lathe back together. Surprisingly, there were a
couple parts missing, but replacement parts were located. The drawings showed
many parts to have leather washers. These washers dissolved years ago, and I
could not find them anywhere. I then asked myself, “What would Dad do?” I went
down to the Goodwill Store and I bought an old leather belt. You remember, the kinds
that were really made out of genuine leather. Using metal washers as a pattern,
I cut out the leather washers and they look like factory made items. All
circular control wheels were polished out to look like chrome. The lathe was painted
original gray, but I used orange for the trim instead of the original black.
Dad did not like polished
out tools. He was very picky about tool maintenance, but being pretty was not
one of his requirements. In fact, when Dad saw a pretty tool he said it was a
sign of an owner who had too much time on his hand and screwed up priorities. I
am sure if Dad saw his lathe now he would say it looked like something bought
from Home Depot. The colors chosen were to match my other machines, which were
bought at Home Depot. I spent four months on this project in honor of my Dad,
but I polished it out for my mom. I wanted to be able to tell her. “Look Mom, perfectly
taken care of, just like I promised.


